Exercises with DualMCU - MicroPython
12. Communication Between Two Microcontrollers
Objective
Establish effective communication between two microcontrollers of DualMCU, with the end goal of unifying resources and empowering processing in applications with requirements for higher capacities.
NOTE: Utilize the two microcontrollers of board DualMCU.
Description
This board provides a solution to achieve efficient communication between microcontrollers ESP32 & RP2040. The implementation of this design aims to optimize performance in applications that demand higher computational resources.
Materials
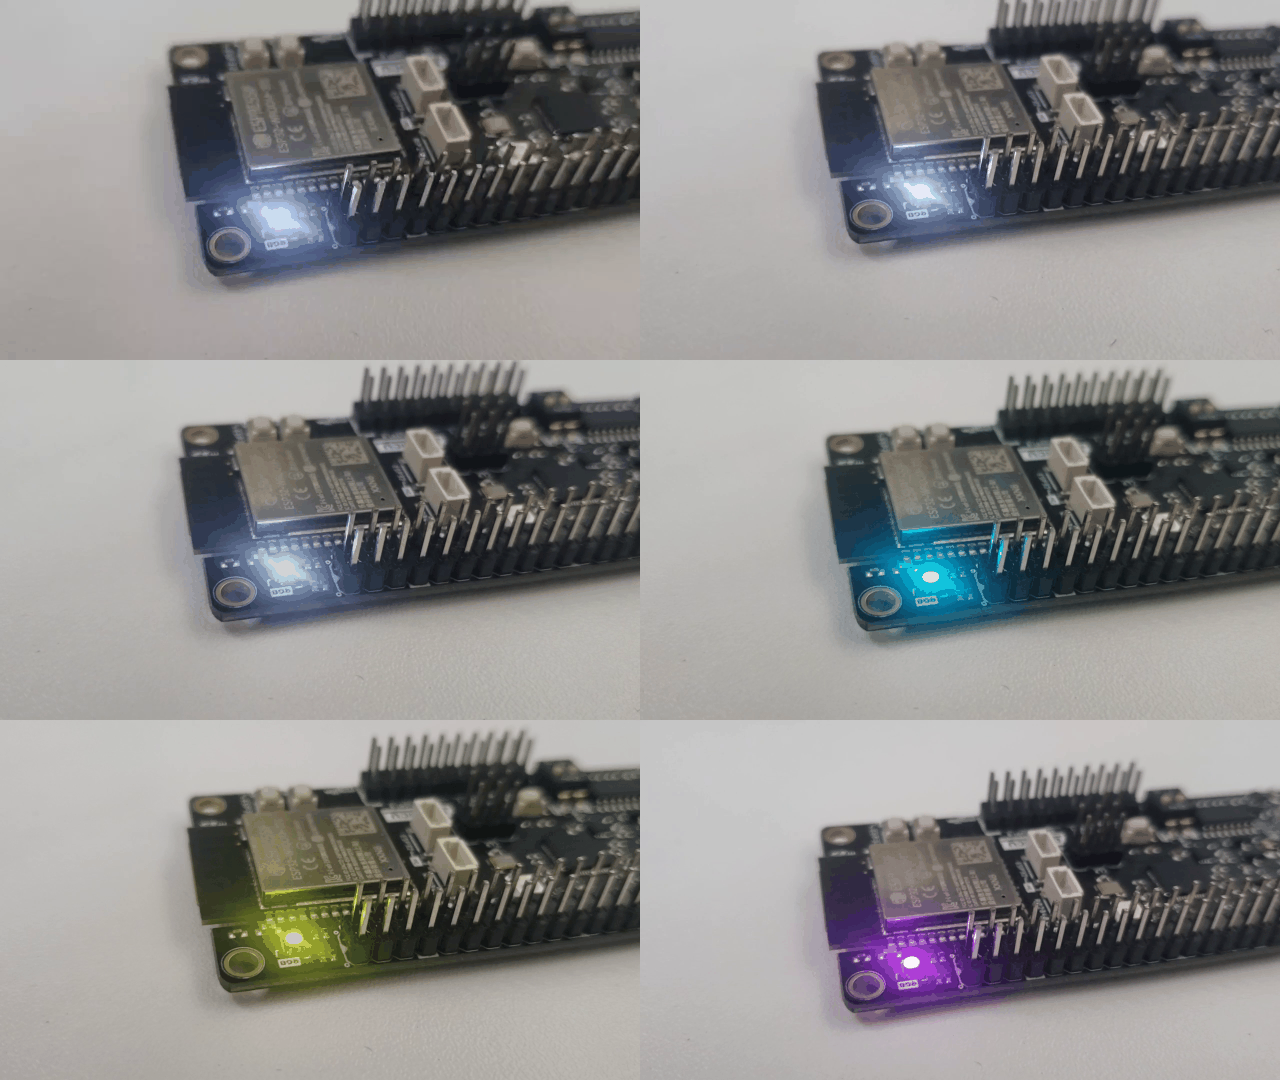
To carry out the program implementation, two RGB LEDs will be employed are fully integrated into the development board. Hereafter, the detailed specifics of the materials to be used in this activity are provided.
Connection Diagram
for continue, present to connection diagram, the which is a simple: only you need connect the board DualMCU to laptop or computer desktop using to cable USB Type- C

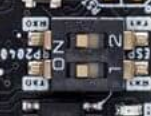
Change the interruptor DIP UART to “ON” for this configration.

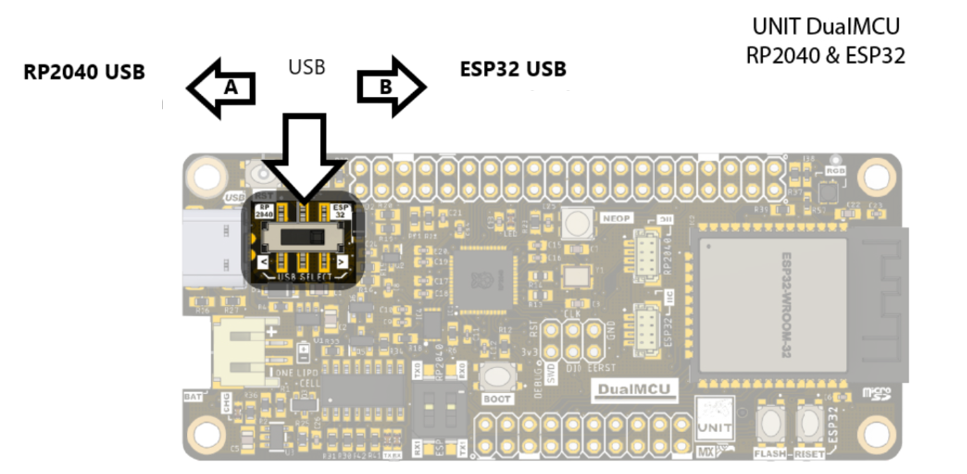
NOTE Remember that when working with the DualMCU, you can switch between microcontrollers using the change switch. For this practice, we will only use the RP2040 microcontroller, so you should switch the change switch to position “A”.

Code
The process is divided into two parts. The first section involves loading code onto the RP2040; select the board in the COM section on the lower right.
'''
rp2040

'''

import time
from machine import UART, Pin
import ujson

uart1 = UART(0, baudrate=115000, tx=Pin(0, Pin.OUT), rx=Pin(1, Pin.IN))

led_sequence = ["rojo", "verde", "azul"]  # Lista que define la secuencia de LEDs

while True:
    time.sleep(0.1)

    # Obtén el siguiente LED en la secuencia
    led_actual = led_sequence.pop(0)

    # Añade el estado del LED actual al JSON
    datos = {
        "led_actual": led_actual,
        "accion": "encender"
    }
    txData = ujson.dumps(datos)
    uart1.write(txData + '\n\r')
    print(txData)

    time.sleep(1)  # Espera 1 segundo antes de enviar el siguiente conjunto de datos

    # Añade el estado del LED actual al JSON
    datos = {
        "led_actual": led_actual,
        "accion": "apagar"
    }
    txData = ujson.dumps(datos)
    uart1.write(txData + '\n\r')
    print(txData)

    # Mueve el LED actual al final de la secuencia
    led_sequence.append(led_actual)

    time.sleep(1)  # Espera 1 segundo antes de enviar el siguiente conjunto de datos
Save the code in the RP2040, selecting the Raspberry Pi Pico board.
NOTE: For this part, we will only use the ESP32 microcontroller, so you should switch the change switch to position “B”.

Copy and paste the next code:
'''
ESP32
'''
import ujson
from machine import UART, Pin

uart0 = UART(1, baudrate=115000, tx=Pin(17, Pin.OUT), rx=Pin(16, Pin.IN))
led_rojo = Pin(4, Pin.OUT)  # Configura el pin GPIO5 como salida para el LED rojo
led_verde = Pin(26, Pin.OUT)  # Configura el pin GPIO18 como salida para el LED verde
led_azul = Pin(25, Pin.OUT)  # Configura el pin GPIO19 como salida para el LED azul

def ejecutar_accion(accion, pin_led):
    if accion == "encender":
        pin_led.on()  # Enciende el LED
    elif accion == "apagar":
        pin_led.off()  # Apaga el LED

def recibir_json():
    rx_data = b''  # Inicializa una cadena de bytes vacía

    while True:
        if uart0.any():
            byte_received = uart0.read(1)  # Lee un byte desde el UART
            rx_data += byte_received

            # Verifica si el carácter de nueva línea indica el final del JSON
            if byte_received == b'\n':
                try:
                    # Intenta cargar el JSON
                    json_data = ujson.loads(rx_data.decode('utf-8'))
                    print("JSON recibido:", json_data)

                    # Extrae los valores de 'accion' y 'led_actual' del JSON
                    accion = json_data.get('accion', '')
                    led_actual = json_data.get('led_actual', '')

                    # Ejecuta la acción indicada en el JSON para cada LED
                    if led_actual == "rojo":
                        ejecutar_accion(accion, led_rojo)
                    elif led_actual == "verde":
                        ejecutar_accion(accion, led_verde)
                    elif led_actual == "azul":
                        ejecutar_accion(accion, led_azul)
                    print("--led recibido:", led_actual, "accion:", accion)

                    return json_data
                except ValueError as e:
                    print("Error al parsear JSON:", e)
                    rx_data = b''  # Reinicia la cadena si hay un error en el JSON

# Ejemplo de uso
while True:
    data = recibir_json()
    # Realiza acciones con el JSON recibido
run to code of ESP32 has THAT show to data on send for RP2040.

Results
With brief results, the control of communication by JSON is a practice that benefits communication in the aspect that microcontrollers allow its use without external software components, so its implementation is practical. The results of this communication allow us to know the possibilities of the DUALMCU.

Conclusions
In conclusion, the objective of the practice is to achieve effective communication between the two microcontrollers of the DualMCU, the ESP32 and the RP2040, with the purpose of consolidating resources and enhancing processing power. The implementation seeks to offer a solution that optimizes performance in applications that require greater computational capabilities, thus providing an efficient solution for projects that demand a higher level of processing and coordination between microcontrollers.
NOTE: Keep in mind that the presented codes are only examples and may require configuration adjustments according to specific needs and requirements.
DualMCU ESP32+RP2040
For more information, refer to the
- https://uelectronics.com/
- Hardware-DualMCU
- Product Reference Manual.pdf
- C++ & Micropython Examples files for the UNIT DualMCU.
- Licencia The code presented in this repository is licensed under the GNU General Public License (GPL) version 3.0.
⌨️ with ❤️ from UNIT-Electronics 😊